Testing the hardware interface
This tutorial assumes that you have already been able to compile and install the package. If not, please refer to the related instructions in the building/installation instructions.
For this example, we are using 2 dynamixel actuators : MX28 . It will by default launch two feed-forward only controllers (one position and one velocity) and a virtual controller that publishes the states of the two actuators.
- Connect motor
- with your USB2DYNAMIXEL device or your favorite dynamixel interface.
- Supply power
- USB2Dynamixel does not supply power to Dynamixel. Therefore, the power must be supplied separately to operate Dynamixel. We are recommanded to use : one laboratory power supply or SMPS2Dynamixel .
Go inside your libdynamixel directory
- Check serial interface
open a terminal and simply type :
ls /dev.check your serial interface’s name, in our case
ttyUSB0.
- Check device’s ID
open a terminal and simply go into your libdynamixel directory :
cd /home/USER/Resibots/libdynamixel. Now, you can check with our tools interface if your motors and the libdynamixel work correctly :
./build/src/tools/dynamixel -p /dev/ttyUSB0 -b 3000000 list
-pdevice interface-bdynamixel’s baudrate (known)listcommand to list all connected dynamixel
Go inside your dynamixel_control_hw directory
- URDF File
check the URDF file :
urdf/sample.urdf- joints names
- joints limits
- Configuration file
check the example configuration file:
config/sample.yamlidparametersserial_interfacebaudrate
- Launch file
Check the
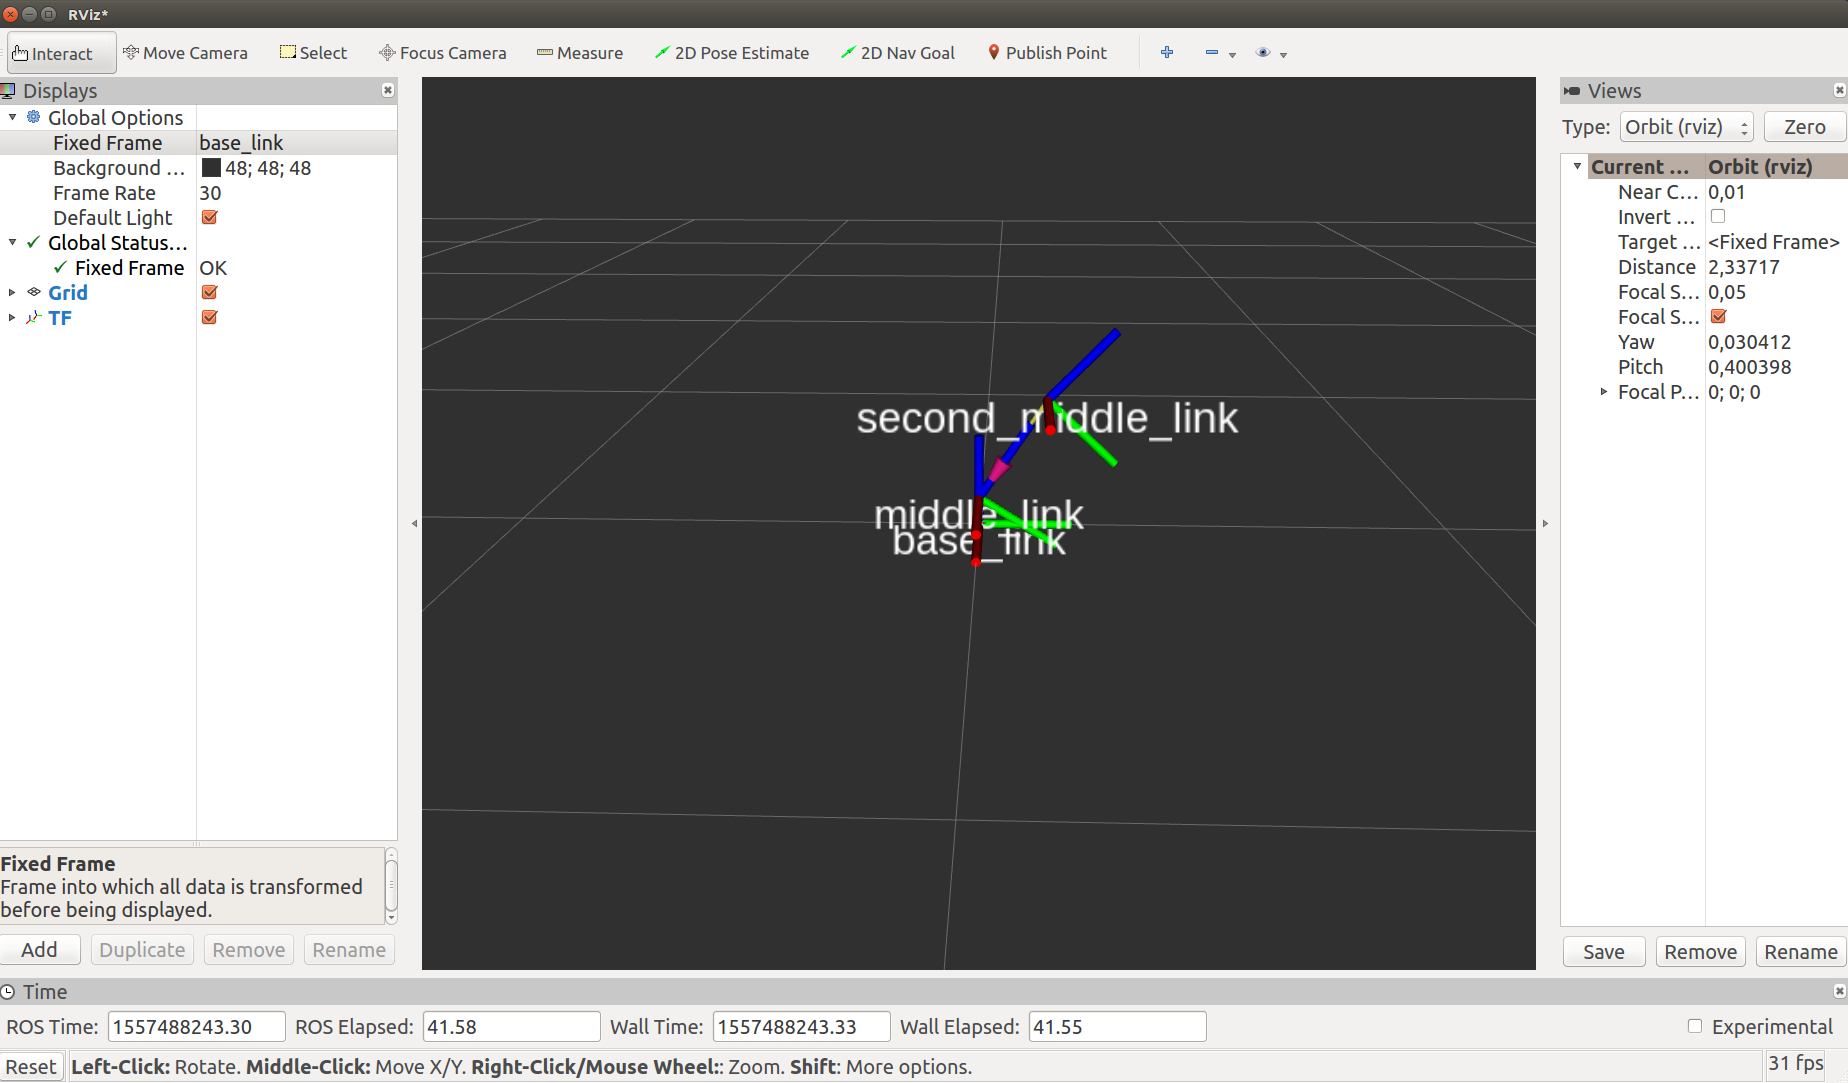
launch/sample.launchfile.It will by default launch two feed-forward only controllers (one position and one velocity) and a virtual controller that publishes the states of the two actuators.
Once you are sure that it’s correct, you can:
roslaunch dynamixel_control_hw sample.launch
Check topics and params:
rostopic list
rosparam list
